Not quite right?
A different input, another range, galvanic isolation or your own logo: we adapt the module.


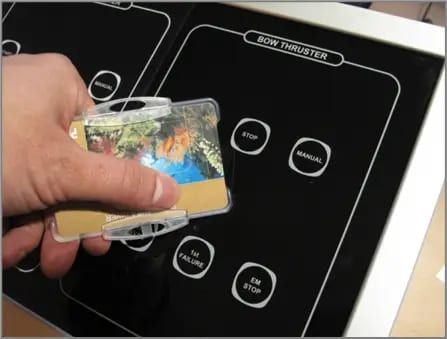
Article number PR130s01
These touch buttons work through a 3 mm glass panel, for clean controls without mechanical switches. Side-emitting LEDs provide a multicolour backlight, dimmable with an external PWM signal and even at an on-board voltage of 18 to 28 V; each button gives a momentary signal that switches to GND. The module is the basis for your own controls: versions with 2 to 5 buttons are available, unused sensors can be disabled and we make similar controls to measure. For cleaning the glass, an extra touch button or a card can switch the panel off for a short time.
Price on request
Lead time on request. Not in stock? We will make it.
Orders are placed by email with a purchase order. We supply businesses only.
| Supply | 12 to 32 V DC; ripple ±20 mV max. |
|---|---|
| Input | Touch through 3 mm glass; PWM dimming input up to 500 Hz, high from 12 V up to the supply voltage, low up to 0.6 V, 1 mA at 24 V |
| Output | Momentary outputs switching to GND, 400 mA max. (sink, absolute limit); clamp diode 33 V |
| Setup | Automatic calibration at power-up, within 2 seconds |
| Backlight | Multicolour (RGB), dimmable with PWM up to 500 Hz; colour deviation ±5 % |
| Versions | 2 to 5 buttons; unused sensors can be disabled |
| Connection | 12-pin and 14-pin connectors |
| Protection | Self-resetting fuses and reverse polarity protection |
| Moisture | Splashing water causes no false triggers; continuously running water or conductive liquids can trigger buttons |
| Ambient temperature | -20 to 80 °C in operation (absolute limits -25 to 85 °C); humidity 10 to 90 %, non-condensing |
| Mounting | Behind 3 mm glass firmly supported by aluminium, in a conductive, earthed enclosure |
A different input, another range, galvanic isolation or your own logo: we adapt the module.
You speak directly with the developer. Call or message Willem on +31 6 45 77 55 93.
PR130s01
Enter the quantity. You will receive price and lead time by email. You then order with a purchase order.
Send the article number and quantity via WhatsApp to +31 6 83 66 55 88. Willem replies on working days.
WhatsApp Willem(opens in a new tab)Controls
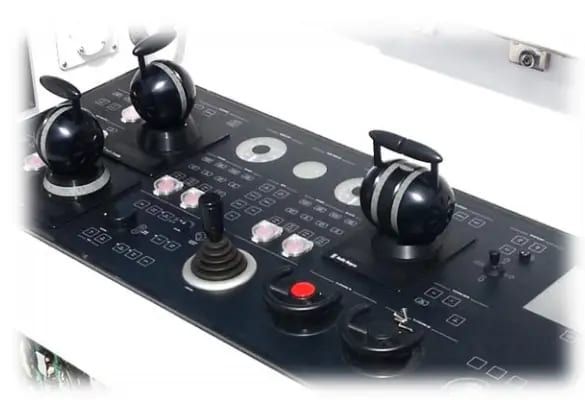
PR132 series · PR132s21 · PR132s40 · PR132s41 · PR132s43 · PR132s52 · PR132s54 · PR132s62 · PR132s203
In: CAN or ModbusOut: CAN or Modbus
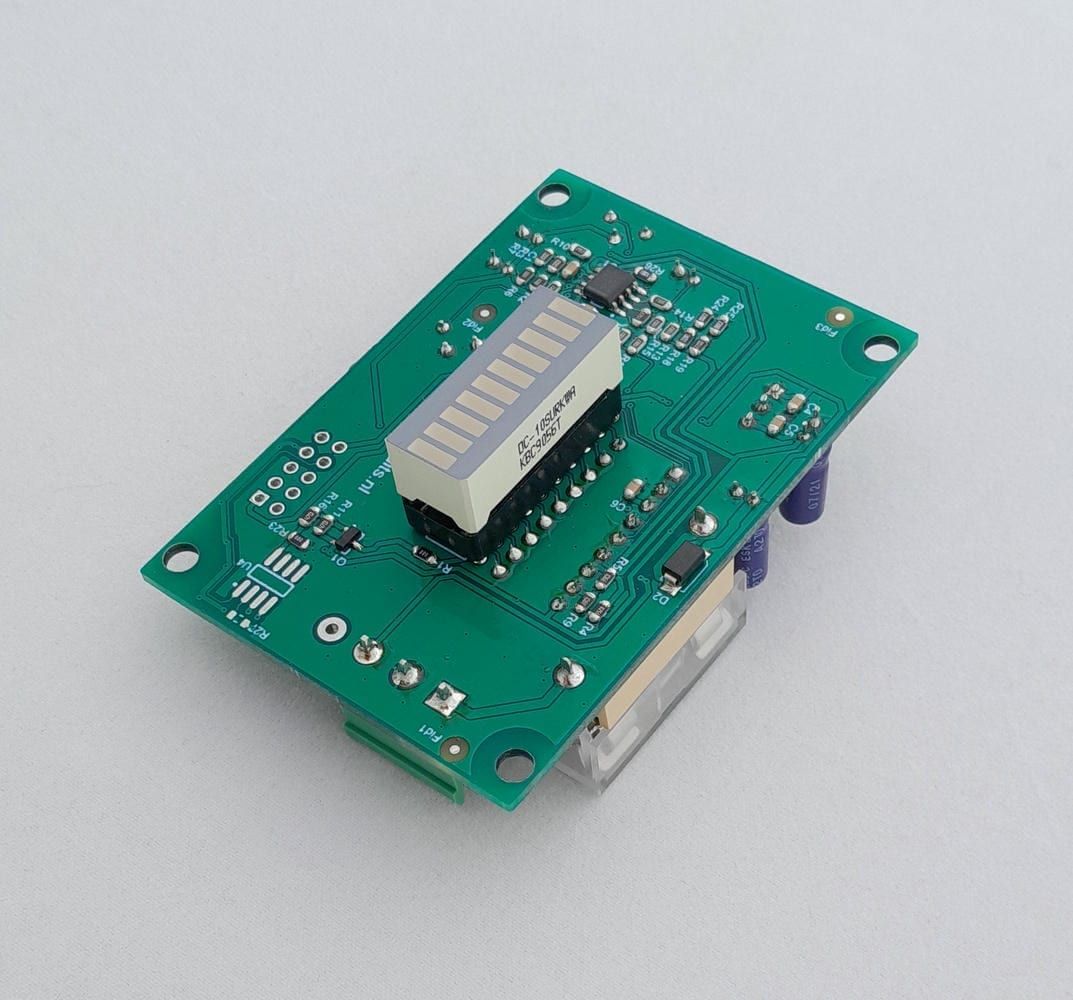
PR177s01 · PR177s02
In: 4-20 mAOut: LED bar
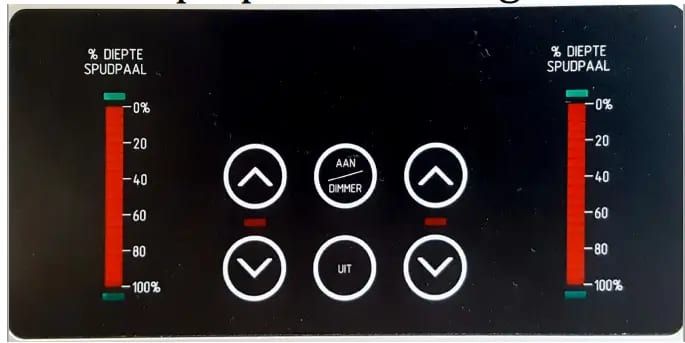
PR116v4
In: 4-20 mA or DigitalOut: Relay or LED bar