Not quite right?
A different input, another range, galvanic isolation or your own logo: we adapt the module.


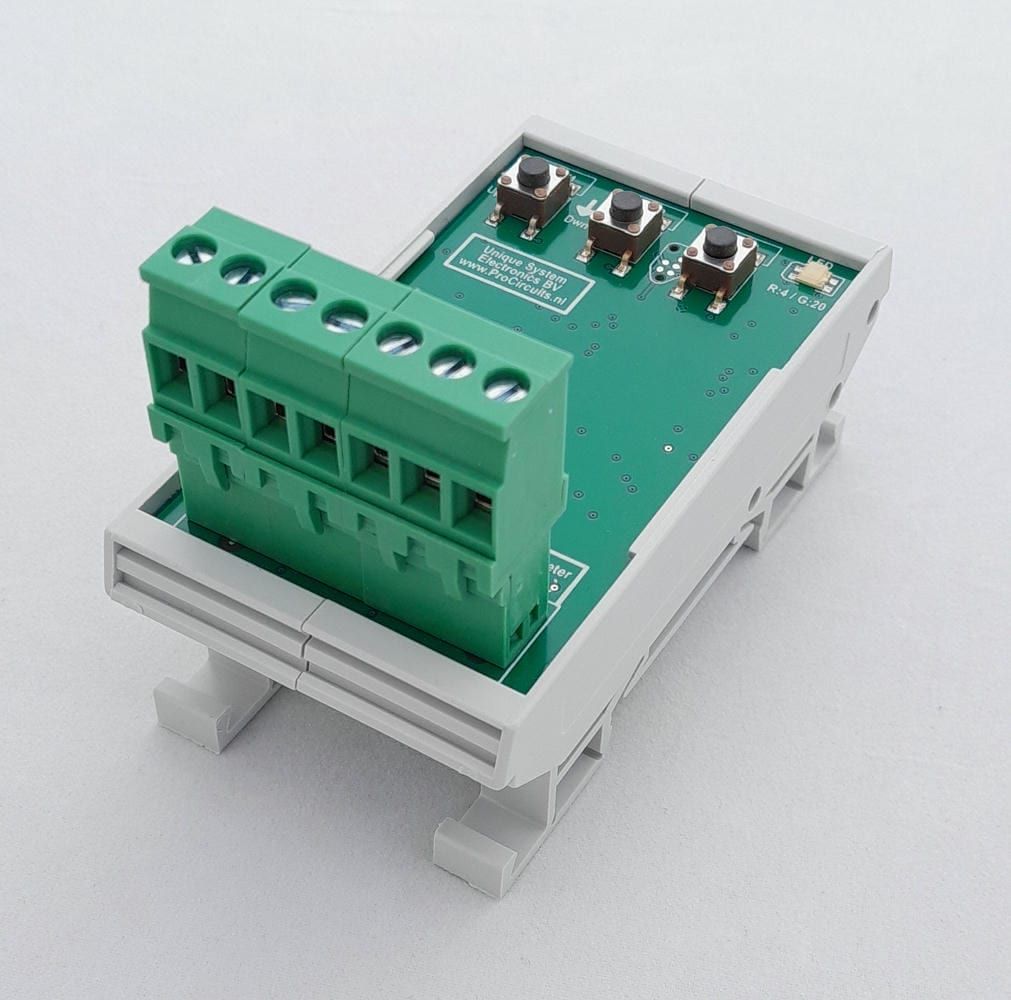
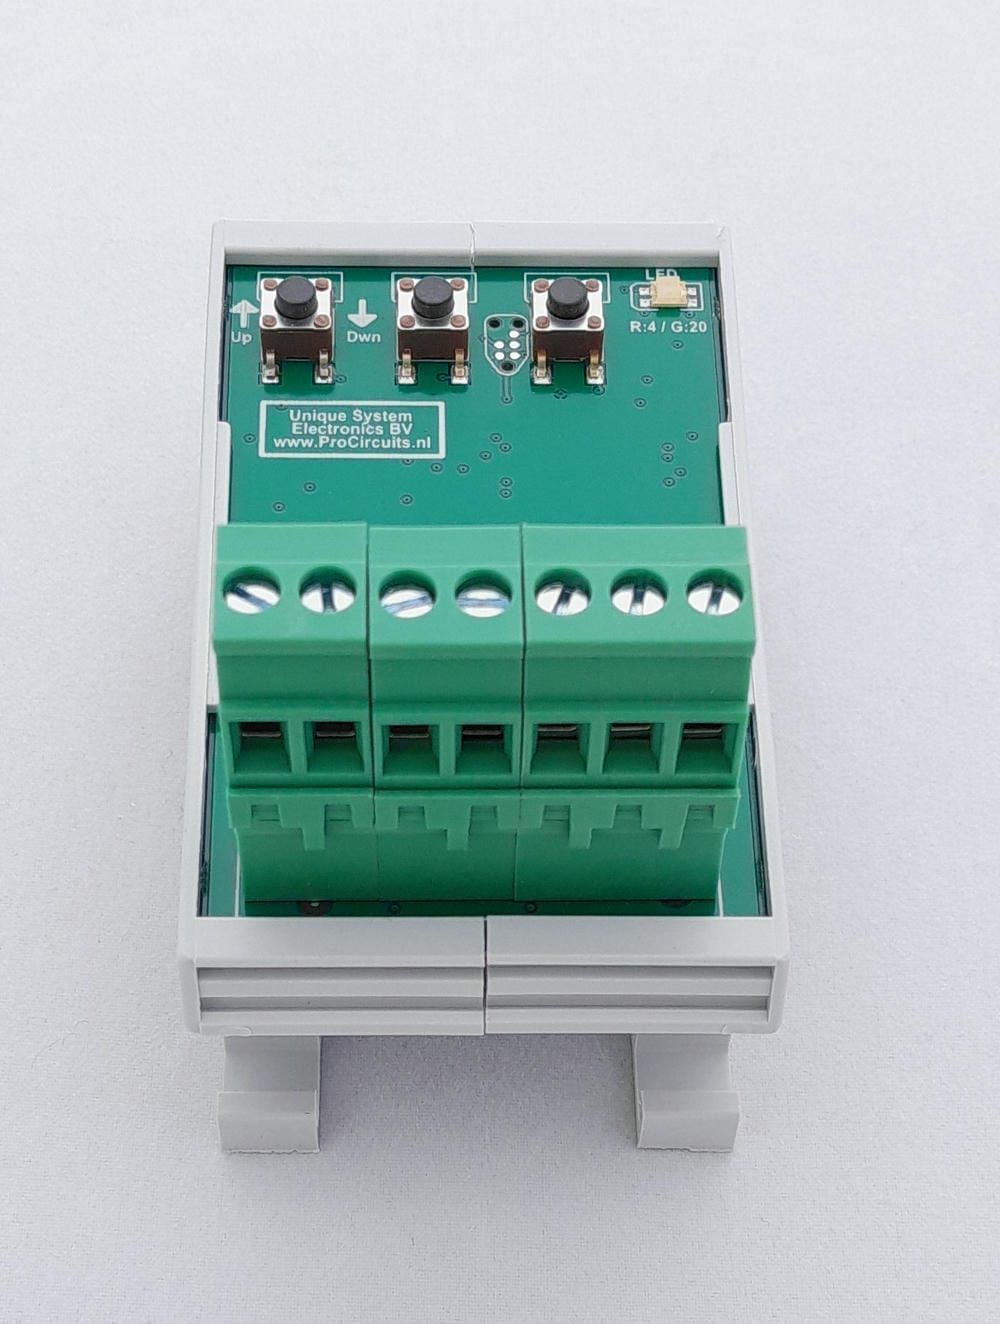
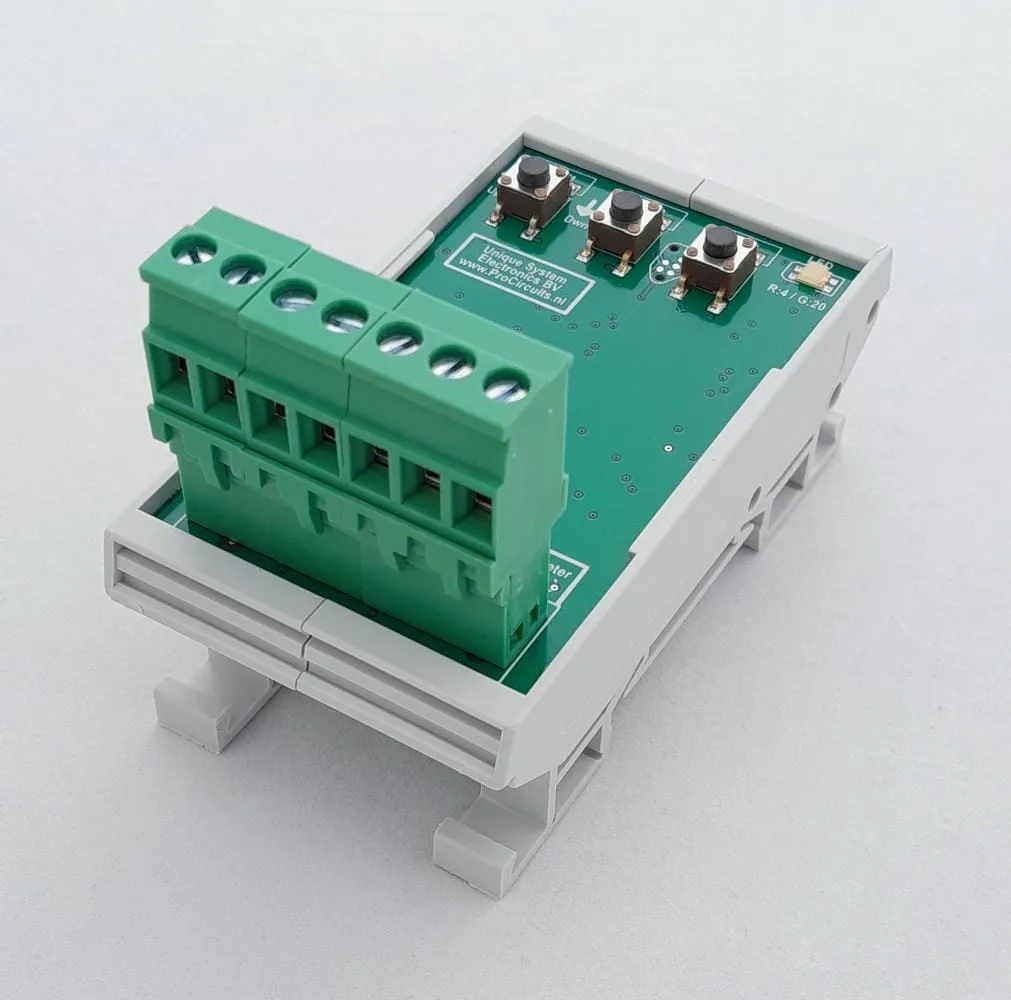
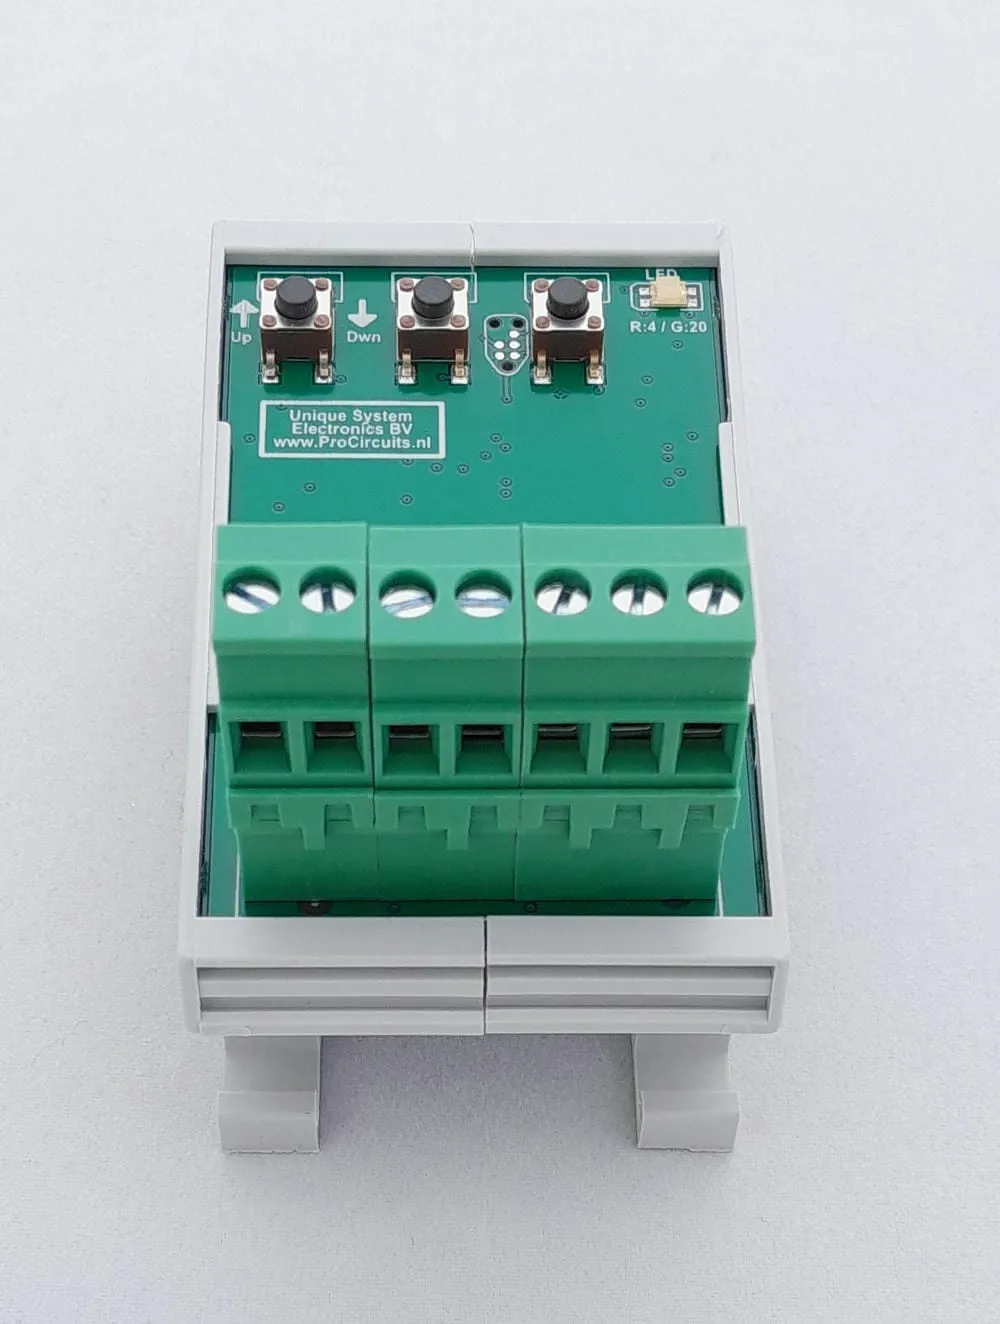
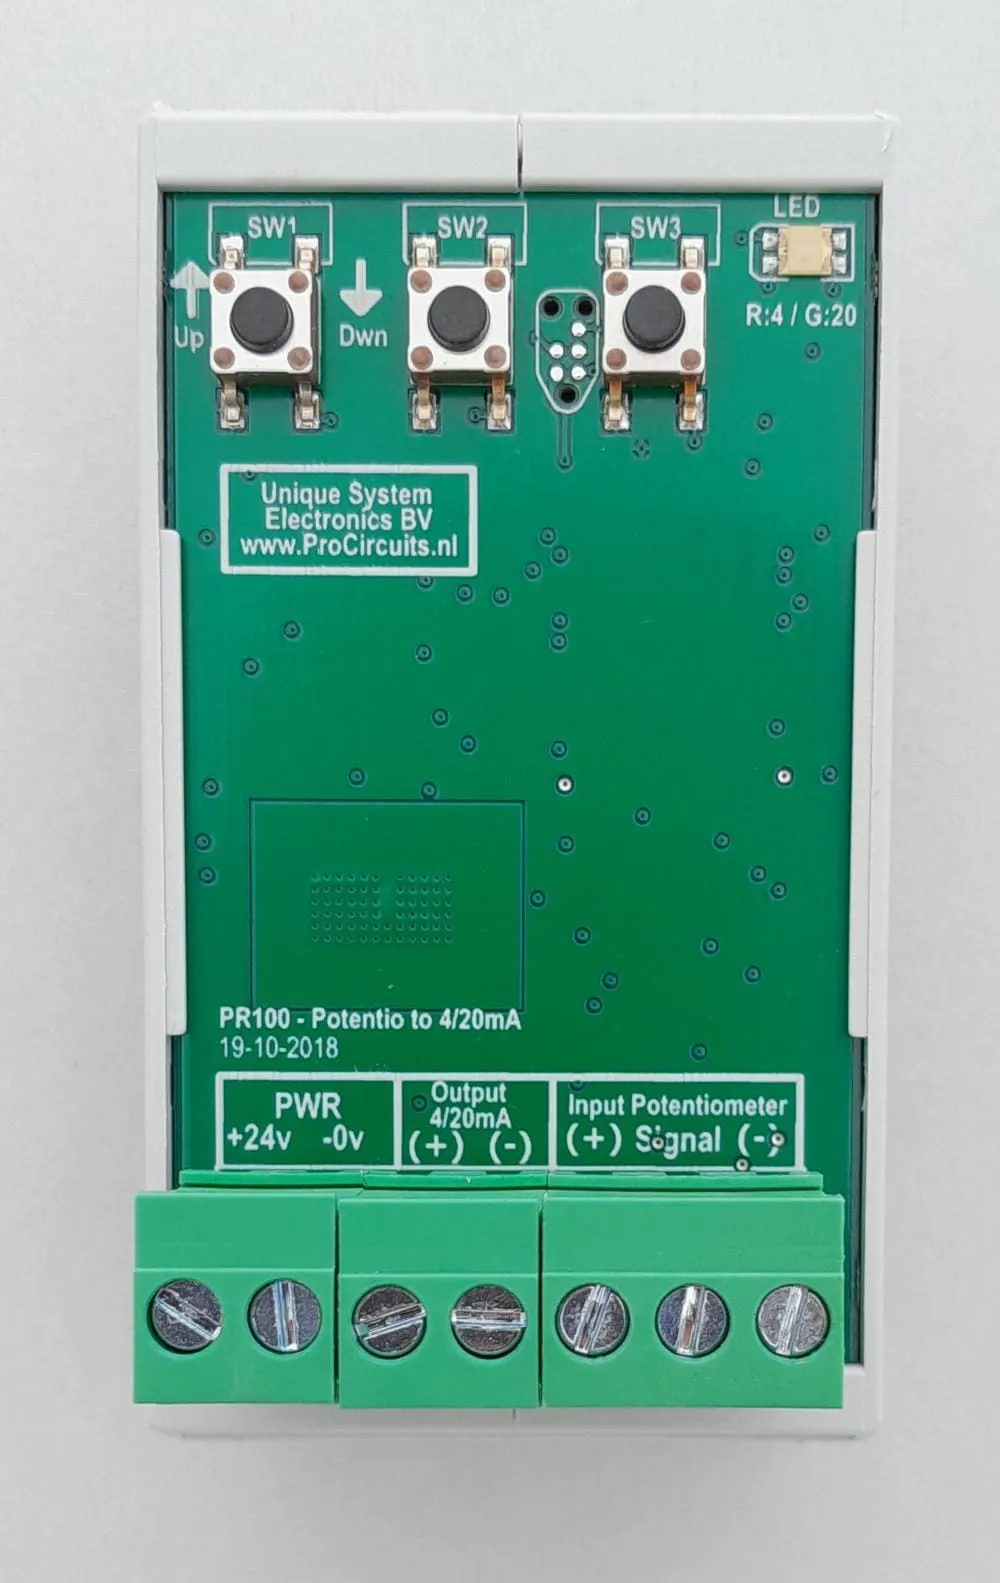
Article number PR100s01
The PR100s01 converts the signal of a potentiometer or sensor from 500 Ω to 100 kΩ into a 4-20 mA or 0-20 mA current signal. The output is calibrated at the press of a button: potentiometer in the position for 20 mA, press the button; potentiometer in the position for 4 mA, press the button. Fine adjustment by hand remains possible afterwards. The output is not galvanically isolated: the output minus is internally connected to the supply minus.
Price on request
Lead time on request. Not in stock? We will make it.
Other version: PR181-X089. The PR181-X089 also converts a potentiometer to 4-20 mA, with an output galvanically isolated from input and supply. It is set up on a display, and the rise and fall rate of the output is adjustable as well. Supply 9 to 30 V DC, ambient temperature -25 to 55 °C, non-condensing. Do input and output need to be isolated, or would you rather set it up on a display? Then choose the PR181. Otherwise the PR100 is sufficient.
Orders are placed by email with a purchase order. We supply businesses only.
| Supply | 12 and 24 V DC, operating range 11 to 30 V DC |
|---|---|
| Input | Potentiometer or sensor, 500 Ω to 100 kΩ |
| Output | 0 to 22 mA, for 4-20 mA and 0-20 mA |
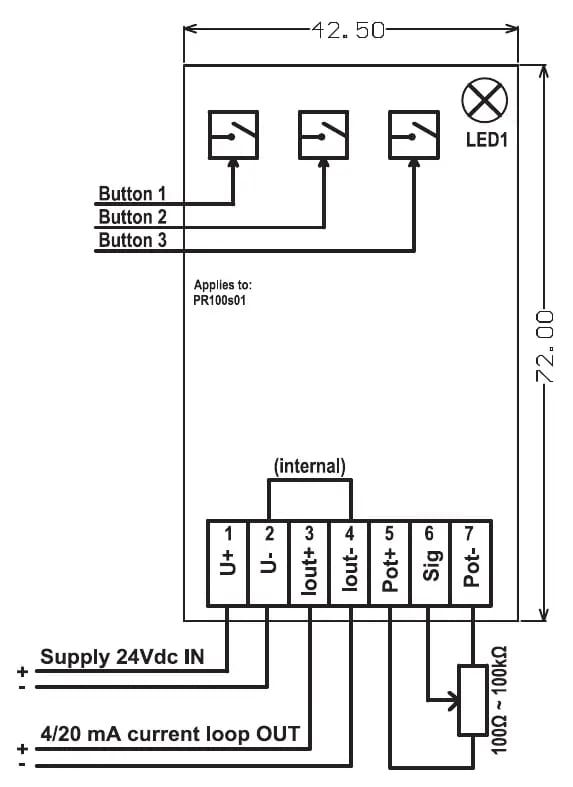
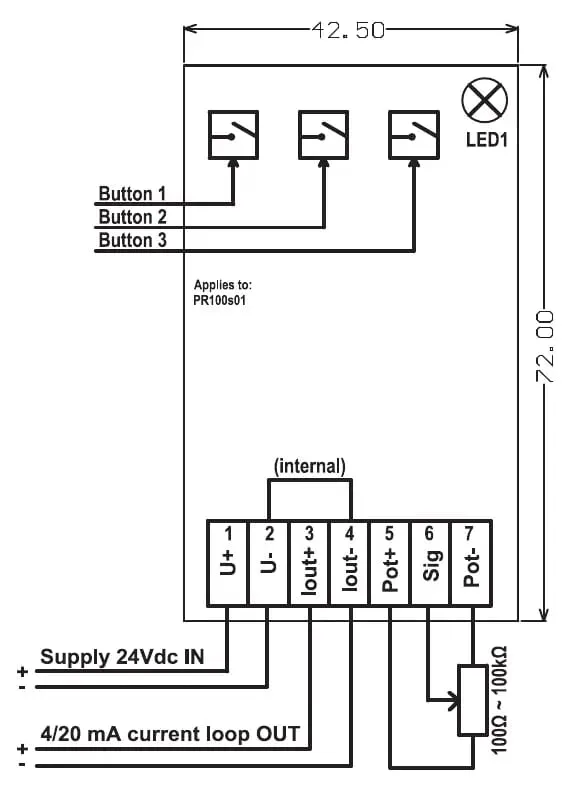
| Isolation | Not isolated: the output minus (terminal 4) is internally connected to the supply minus (terminal 2) |
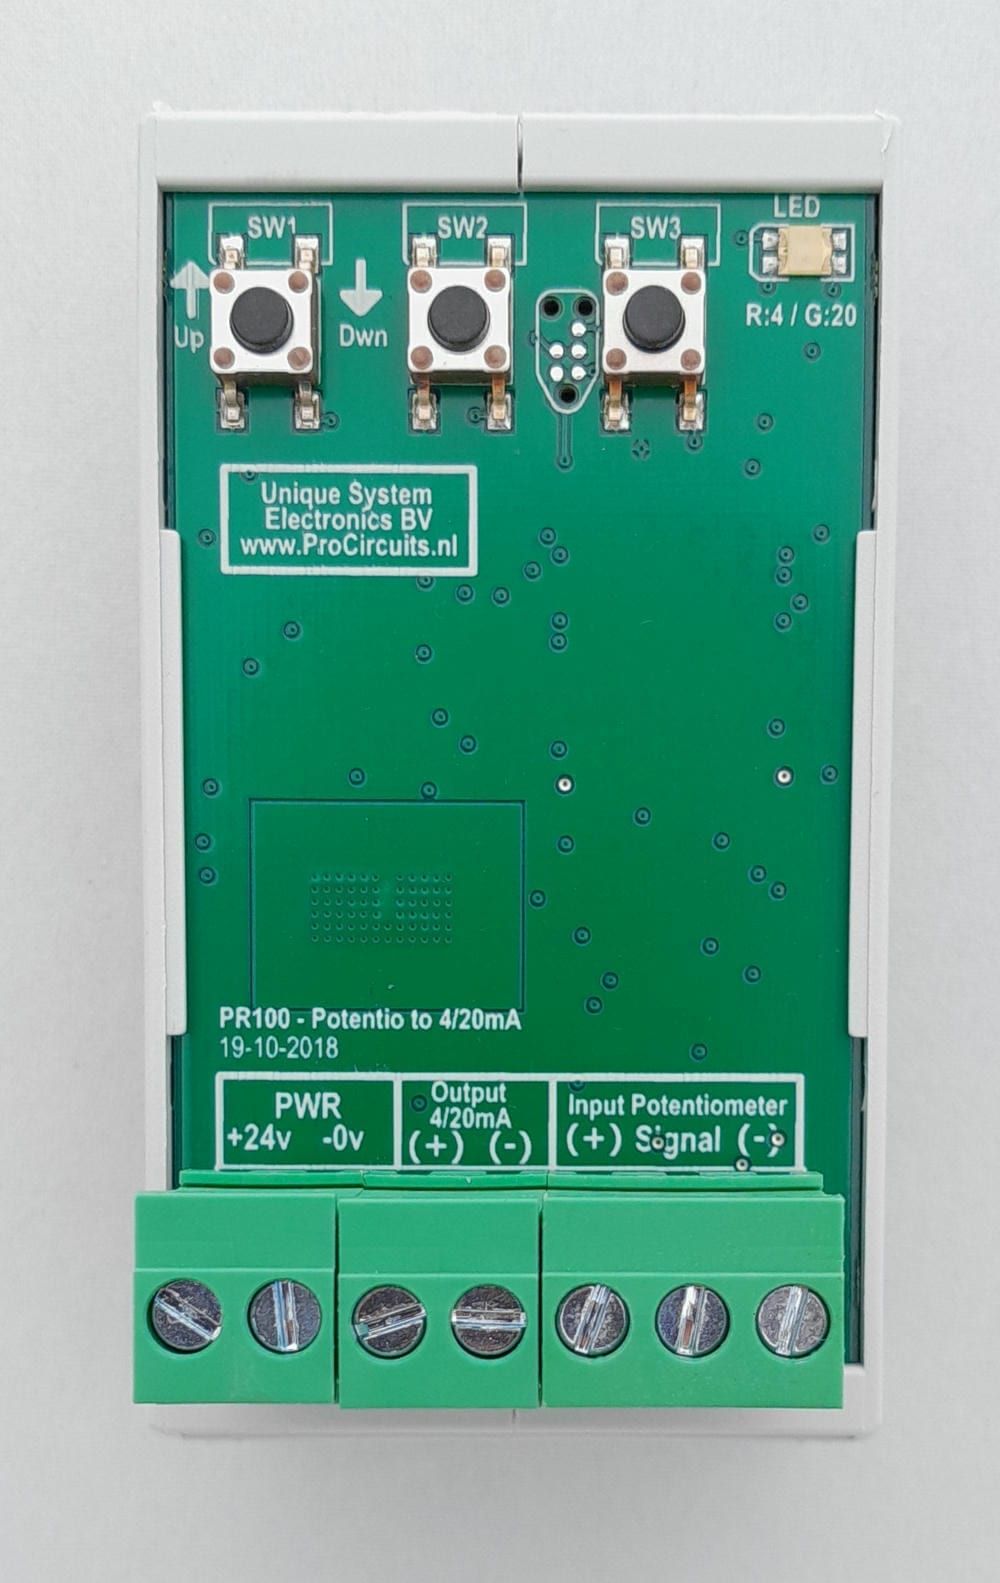
| Setup | Three push buttons and a green LED |
| Ambient temperature | 0 to 55 °C |
| Dimensions | Board 43 x 72 mm |
| Mounting | DIN rail holder, supplied as standard |
| Terminal | Function |
|---|---|
| Terminal 1 | Supply plus, 12 or 24 V DC |
| Terminal 2 | Supply minus, also common ground for the analogue signals |
| Terminal 3 | 4-20 mA output plus |
| Terminal 4 | 4-20 mA output minus, internally connected to terminal 2 |
| Terminal 5 | Potentiometer or sensor plus |
| Terminal 6 | Potentiometer or sensor signal (wiper) |
| Terminal 7 | Potentiometer or sensor minus |
The converters in the PR100 series are set up with three push buttons and a green LED on the module. Button 3 puts the module in programming mode, button 2 stores the value for the maximum and button 1 the value for the minimum; button 3 saves. The output can then still be fine-tuned by hand. All versions run on 12 and 24 V DC, operating range 11 to 30 V DC, at an ambient temperature of 0 to 55 °C; the board measures 43 x 72 mm and a DIN rail holder is supplied as standard. The output minus is internally connected to the supply minus: the PR100 is not galvanically isolated. To restore the factory settings, disconnect the supply, hold button 2 and reconnect the supply.
Do input and output need to be isolated, or would you rather set it up on a display? Then choose a module from the PR181 series: it is set up on a display, runs on 9 to 30 V DC and has a galvanically isolated output and an adjustable rise and fall rate. Where a PR181 exists for the same conversion, it is listed on the product page under Other version.
A different input, another range, galvanic isolation or your own logo: we adapt the module.
You speak directly with the developer. Call or message Willem on +31 6 45 77 55 93.
PR100s01
Enter the quantity. You will receive price and lead time by email. You then order with a purchase order.
Send the article number and quantity via WhatsApp to +31 6 83 66 55 88. Willem replies on working days.
WhatsApp Willem(opens in a new tab)Potentiometers
PR100s07
In: PotentiometerOut: 0-10 V
PR100s08
In: PotentiometerOut: 0-5 V
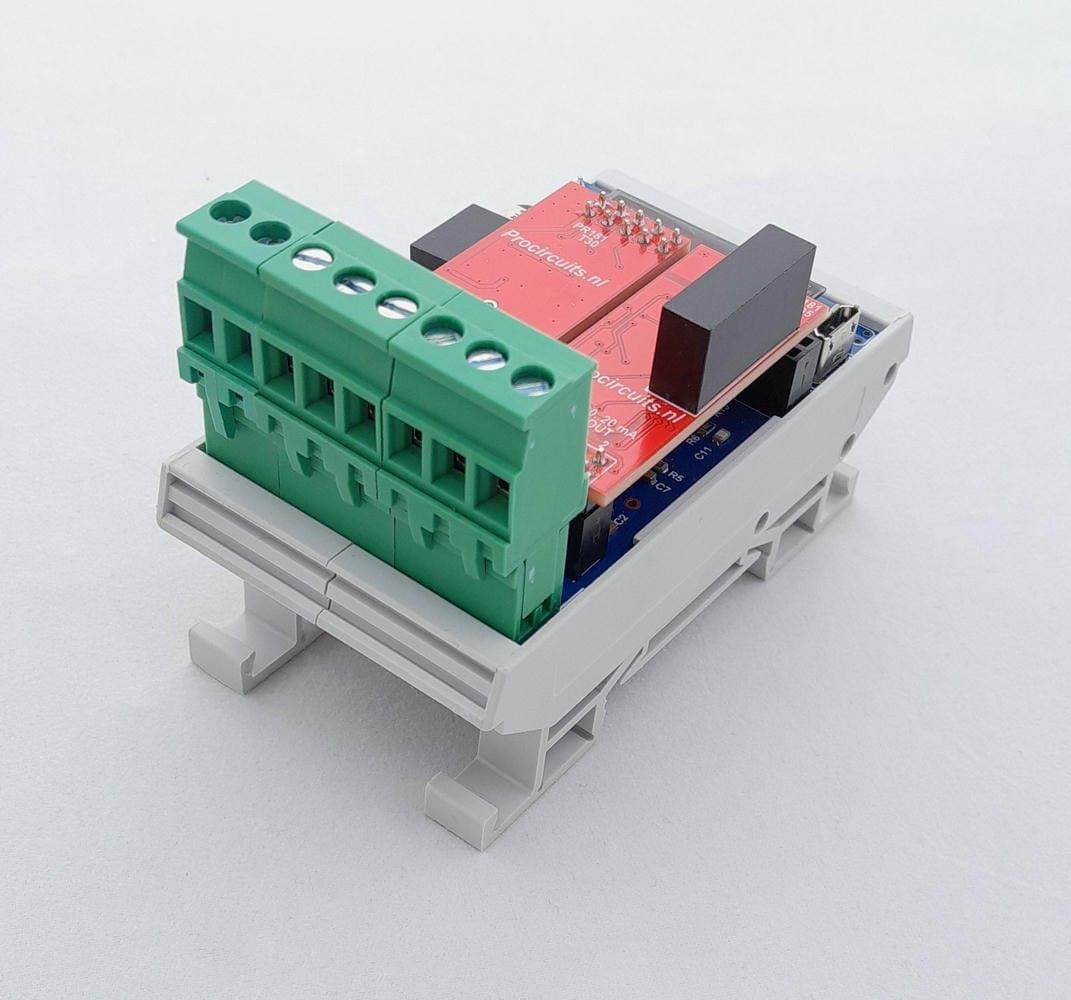
PR181-X046
In: Joystick or PotentiometerOut: 4-20 mA or 0-20 mA
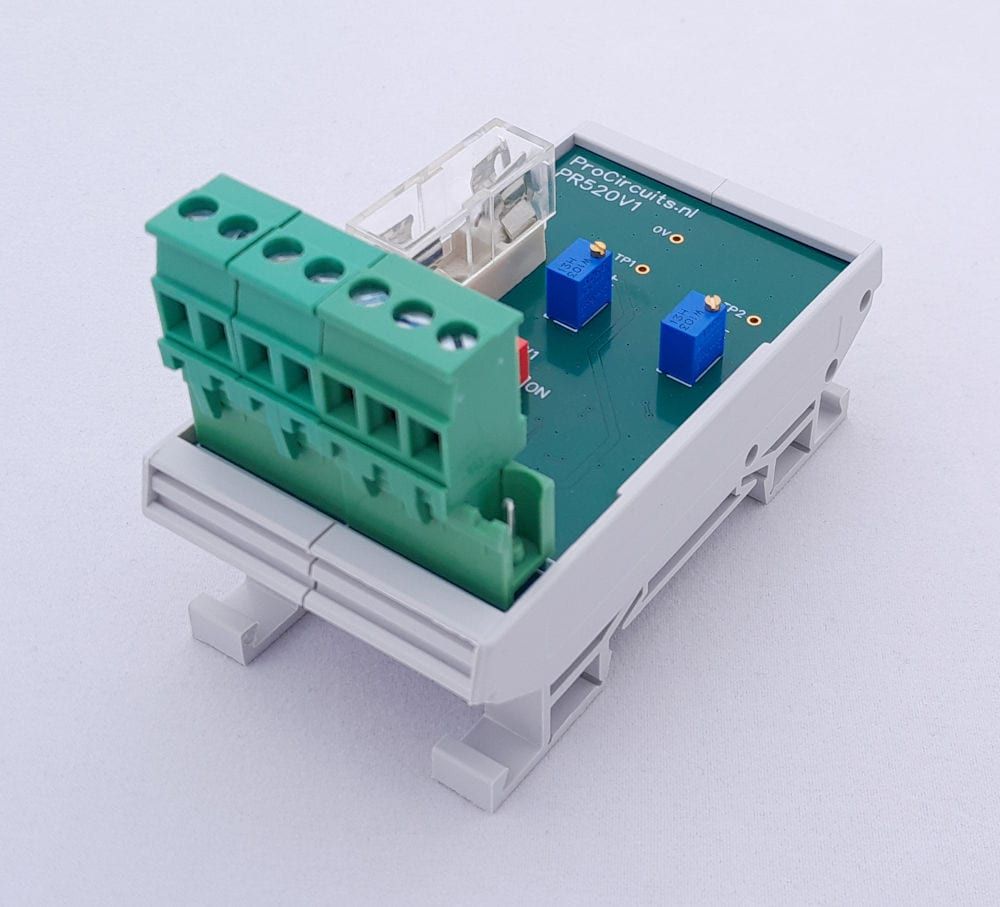
PR520-X001
In: PotentiometerOut: 0-5 V